So we are two months into our entryway reno and are nearly done. Actually we have been nearly done for weeks now but the whole Christmas-thing keeps us from making any progress. So far, we’ve built a table (tutorial after the reveal), updated the electrical, painted the walls, and got the popcorn ceiling down!
That was the hard part. Difficult, messy, precarious, damaging to my health, but in the end successful. I don’t really want to make this a tutorial, because we are not professionals and did not do a professional job. But, if you want to know, this is how we did it.
Step 1: Shut off the power to the room, remove the light, and tie up and protect the electrical box. This is important because water is involved.

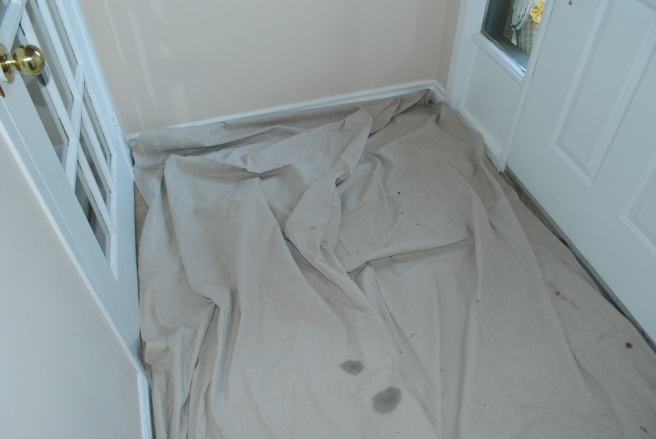
Step 2: Lay down a drop cloth because this is about to get very messy. If I did it over again I would tape plastic sheets to the walls too. Make sure the air vent is covered well.

Step 3: Assemble your equipment. This includes a ladder, and dry-wall putty knife, gloves, a mask, goggles, and I would also recommend a kerchief for your hair. To wet the ceiling, you will want to use a garden sprayer filled with water. Be sure it has never had nasty chemicals in it.

Step 4: Don your safety equipment, climb the ladder and spray the ceiling. Work in small sections. You want it pretty wet, but not sopping. Let is soak for a few minutes.

Step 5: Go up with your putty knife and start scraping. The pop corn should peel and fall to the floor.

Step 6: Clean up a bit (shop vac is essential!) and take a look.
On the edges of the ceiling, where more mudding was done, the spackle came off easily … just like in all those you-tube videos we watched. But on areas where the texture was applied directly to the dry wall; it stuck like glue, either leaving a stubborn layer or ripping off the paper.

At this point we knew we had to sand, which was what we were trying to avoid with the whole water thing, but oh well.
Step 7: Get back on the ladder, make sure you are wearing a mask and eye protection, and go to town with an electric orbital sander.
I waited two weeks for Mr. Fiancé to do this step, as it involves being almost upside-down 5 feet in the air and a certain amount of upper arm endurance. I got tired of waiting and these puny little arms of mine found a way of getting it done. It was terrible. Dust everywhere, in my mouth and eyes, my hair was absolutely white with dust. In some sections the spackle did not want to come off, in some areas it fell away so easily I was leaving divots in the drywall. It was stressful and by the end my back and arms were killing me. Mr. Fiancé is a pretty lucky guy.
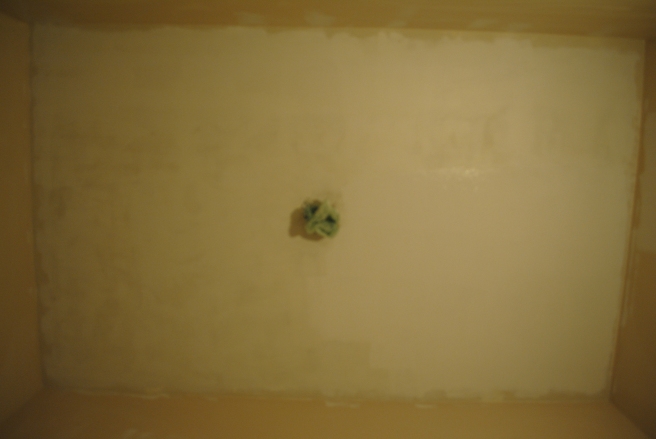
Here is the ceiling half sanded:

The trick was to remove all the spackle, but not the drywall paper. Where I did remove paper, I tried to just make the surface as smooth as possible. I went over everything with a sandpaper sponge afterwards.
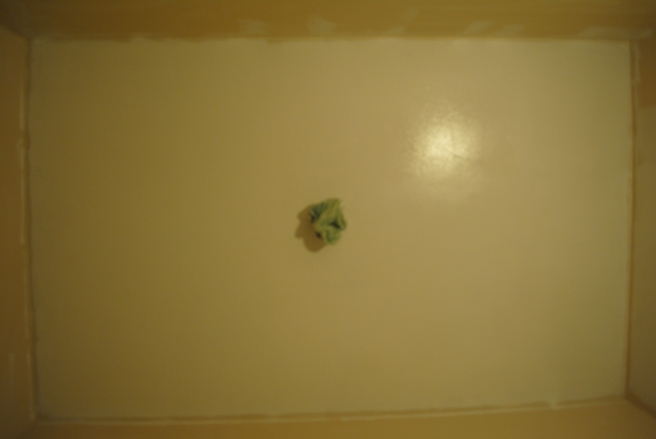
Here’s the ceiling sanded (+ a small test patch of primer):

Step 8: Clean up again. Vacuum up that dust as soon as it settles. You don’t want the stuff getting all over your house! You will also have to wipe down the walls and all the little ledges of the trim and door casings.
Step 9: Prime. I was certain that the exposed dry wall would just soak up the paint, so I lathered on cheaper primer.
That’s that! the popcorn is down and the ceiling is ready for paint. Doing this small room was a test to help us decide whether we will take down the texture in the rest of the house. We wont. At least not ourselves, its not worth it. Way too much work and mess, and a very real possibility of destroying our ceilings. At least now we know.

So what’s left? Crown moulding crown moulding crown moulding! This has been the next step for a while now but I do in fact need Mr. Fiancé’s help with this one (when you are both amateurs, crown moulding is a two person job) and he doesn’t seem motivated. Liam is apparently fine with the mess in our hallway while friends visit for the holidays.
After the crown is up, I still have to paint all the trim and the doors, update the door knobs, as well as build an art piece and style the room. I’m reconciled now that is project will not be completed this year, which just means there will be almost no down time before we start our first 2014 project: the dinning room!


2 thoughts on “Popcorn-Be-Gone! {Entryway Reno Update}”